
Onboarding, Verification and Go-Live
A guided path that takes a cart from sign-up through document review and service setup to an open storefront.
These images are illustrations of the concept, not screenshots of the actual product.
Overview
Getting a new seller onto a marketplace is usually where momentum dies. The merchant fills in a form, emails documents to somebody, waits without knowing what is happening, and then discovers they still cannot take orders because hours, delivery modes and a service area were never set. This concept treats onboarding as one continuous path with a visible state at every point — for the merchant filling it in and for the operator reviewing it.
The design envisions three connected surfaces. A five-step wizard walks the merchant through business details, storefront, location and hours, verification, and go-live, with a progress rail that marks completed steps and highlights the current one. On the verification step, the required documents are listed as rows with their upload state, a status note says the submission is awaiting review, and a live preview card shows how the storefront will read to shoppers — name, category, locality and hours — so the merchant sees what they are actually launching.
The submission then lands in the operator's merchant management queue, illustrated as a filterable table of sellers with status pills, ratings and order counts. Filters separate everything pending from what is already verified or suspended, and a row can be expanded in place to show business details beside the submitted documents, each with view and download controls, a verification status line, and the two decisions that matter: approve or reject. Nothing about the review happens in a side channel.
Once approved, the merchant finishes on the service configuration surface, where weekly business hours are set per day with individual open and close times and a toggle for closed days, fulfillment modes are chosen as checkboxes across pickup, delivery, cart dispatch, on-location and home service, and the service area is drawn as a radius around a pinned address. In the design, saving that configuration is the last piece of setup before the cart goes live.
Together the three screens make the same lifecycle legible from both sides. Because the merchant record carries category, status, rating and order history from this point onward, everything downstream in the product — the order queue, the catalog, analytics, staff and financing — hangs off a seller that was verified and configured in the open rather than approved by email.
What this concept shows
- A five-step progress rail covering business details, storefront, location and hours, verification and go-live, with completed steps checked off
- A verification checklist showing each required document — tax registration, owner identity, a shop photo and a food-safety license — with its upload state, above a pending-review status note
- A live storefront preview card with the cart name, category, locality and daily hours
- An operator merchant table with columns for thumbnail, name, category, owner, status, rating, orders and actions
- Status filters that split the queue into all, pending with a count, verified and suspended, plus merchant search
- An expandable review panel pairing business details and a location thumbnail with submitted documents and view or download controls
- Approve, reject and suspend actions, with the approve control disabled on an already suspended seller
- Per-day business hours with open and close times, day toggles, fulfillment-mode checkboxes, and a service radius drawn on a map
How it works
- The merchant works through the wizard, entering business details, storefront information, and location and hours.
- On the verification step they upload each required document and watch the rows flip to an uploaded state.
- They submit for verification and the status note switches to pending review while the preview card shows how the storefront will read.
- An operator opens the merchant queue, filters to the pending tab, and expands the row for that seller.
- The operator checks business details against the submitted documents and approves or rejects the application.
- The approved merchant returns to service configuration to set weekly hours, close days, fulfillment modes and a service radius.
- Saving the configuration completes the setup the go-live step depends on, readying the cart for shoppers.
Who it's for
- Cart owners and small merchants joining a marketplace
- Marketplace operations teams reviewing applications
- Trust and verification reviewers
- Onboarding and merchant-success managers
- Platform administrators tracking seller status
Illustrations
3 illustrations of this concept. Select one to view it full size.
Merchant Onboarding and Verification Wizard
This illustration shows the onboarding wizard on a wide desktop layout. A back arrow and page title sit in a slim header. Beneath it, a horizontal progress rail runs across five labeled steps — business details, storefront, location and hours, verification, and go-live — with the first three marked complete by filled check circles, the fourth numbered and highlighted as current, and the last still dimmed. The main card lists four required documents as rows, each with a file-type icon, a label and an uploaded confirmation: a tax registration certificate, an owner identity proof, a shop photo and a food-safety license. A tinted status strip below reports the verification as pending review. To the right, a preview card shows a placeholder storefront image with the cart name, category, locality and daily opening hours as sample data. A footer offers back and submit-for-verification buttons.
Operator Merchant Review Queue
This illustration shows the operator console for merchant management on a wide desktop layout. A dark left sidebar holds the wordmark and navigation for dashboard, carts, products, users and analytics, with settings and support below; the carts item is selected. The main area carries a breadcrumb, a page heading, a tab filter for all, pending with a count, verified and suspended, and a merchant search field. The table lists sellers by thumbnail, name, category, owner, status, rating and order count, with colored pills for verified, pending and suspended states, and approve and suspend buttons per row — the approve control greyed out on the suspended seller. One row is expanded into a review panel that pairs business details and a small map thumbnail with three submitted document tiles carrying view and download icons, a verification status line with a last-updated note, and reject and approve buttons. A pagination footer sits below. All names and figures are sample data.
Service Hours, Fulfillment Modes and Area
This illustration shows the merchant console in a desktop application window titled for the console. A dark sidebar lists dashboard, orders, products, customers and analytics, with settings highlighted at the bottom above a log-out item. The page heading reads as service configuration. The left card sets business hours: each weekday has an opening and a closing time field with a clock icon and a toggle, and two days are switched off with their time fields dimmed, showing how a closed day is expressed. Beneath it, a fulfillment modes group offers checkboxes for pickup, delivery, cart dispatch, on-location service and home service, with home service left unchecked. The right card shows a map with a shaded circular service area around a pinned location, an editable street address field, and a service radius slider with its current distance shown in a badge. A wide save-configuration button sits beneath the map card in the right column.
Topics
- merchant onboarding flow
- seller verification queue
- marketplace document review
- storefront go-live checklist
- approve or suspend merchants
- business hours configuration
- fulfillment modes setup
- service area radius
- merchant application status
- cart owner sign-up
Related concepts
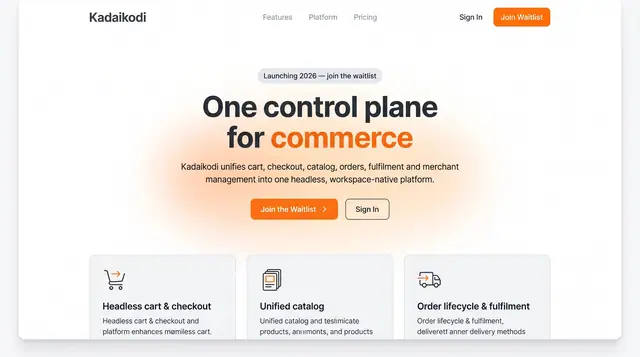
One Control Plane, Every Role
One front door for the platform, and one account that moves between customer, merchant, worker, investor and operator roles.
2 illustrations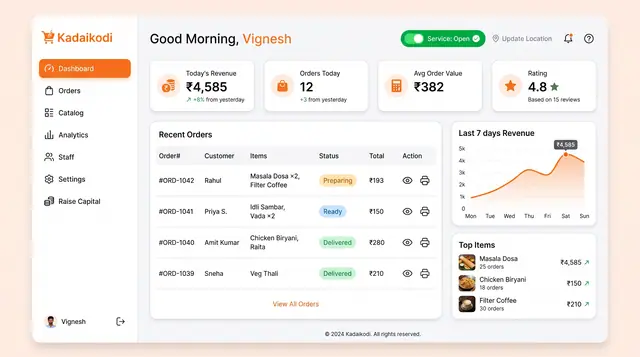
Merchant Dashboard and Order Lifecycle
See the day's revenue, orders and rating, open the storefront, and move each order from new to dispatched.
2 illustrations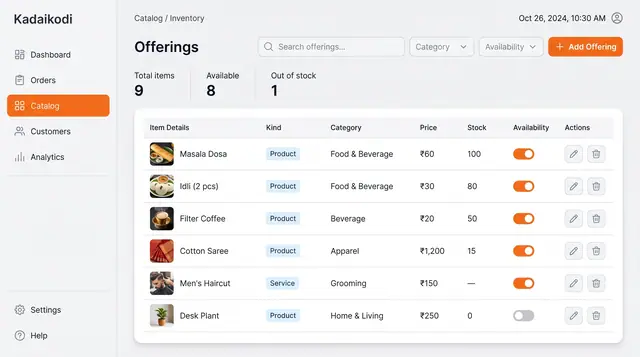
Catalog and Inventory Management
Manage products and bookable services in one table, with price, stock and an availability switch for each.
1 illustration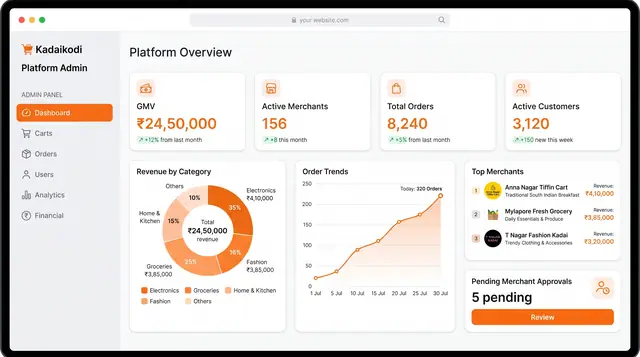
Platform Operations and Analytics
An operator's view of the whole marketplace: GMV, merchants, orders, customers, take rate and category mix across two linked screens.
2 illustrations